Essential Measuring Tools in Hardware: From Micrometers to Thickness Gauges

In the realm of hardware, precision is the cornerstone of quality work. Whether you’re a professional machinist, a DIY enthusiast, or a quality inspector, the right measuring tools can make all the difference between a flawless project and a costly mistake. This blog dives into key measuring instruments—micrometers, dial indicators, tape measures, calipers, depth gauges, and thickness gauges—exploring their features, usage methods, primary applications, and real-world scenarios.
1. Micrometers: The Epitome of Precision
Micrometers are revered for their ability to measure tiny dimensions with extraordinary accuracy, often down to 0.001mm. They are indispensable in industries where even the smallest deviation matters.
Outside Micrometers
These tools are designed to measure external dimensions, such as the diameter of a rod or the thickness of a sheet.
- Usage: Place the object between the anvil (fixed end) and spindle (movable end). Rotate the thimble to gently clamp the object, then use the ratchet stop to prevent over-tightening. Read the measurement by combining the values on the sleeve (main scale) and thimble (vernier scale).
- Applications: Quality control in automotive parts manufacturing, checking the diameter of bolts, or measuring the thickness of metal washers.

2. Dial Indicators: Detecting Minute Displacements
Dial indicators (or dial gauges) excel at measuring small linear movements, making them crucial for alignment and runout checks.
- Usage: Mount the indicator on a stand, then position the contact point against the object. As the object moves, the needle on the dial rotates, showing the displacement in thousandths of an inch or hundredths of a millimeter.
- Applications: Aligning machine tool spindles, checking for runout in rotating parts (like gears or pulleys), or ensuring flatness in precision surfaces.

3. Tape Measures: Versatility for Everyday Lengths
Tape measures are the workhorses of general length measurement, combining portability with practicality.
- Usage: Extend the flexible tape to span the object, lock it in place using the built-in lever, and read the measurement from the marked scale (available in metric and imperial units). The hook at the end adjusts to account for its own thickness, ensuring accuracy when measuring from edges.
- Applications: Construction (measuring room dimensions for flooring), carpentry (cutting lumber to length), or home DIY projects (installing shelves).

4. Calipers: Multifunctional Dimension Checkers
Calipers are versatile tools that measure internal, external, and depth dimensions, available in manual and digital versions.
Vernier Calipers
A manual tool with a main scale and a sliding vernier scale, offering precision up to 0.02mm.
- Usage: Slide the jaws to grip the object. The main scale provides a rough measurement, while the vernier scale adds finer detail—find the line on the vernier that aligns with a line on the main scale to get the exact value.
- Applications: Measuring the internal diameter of a pipe, the thickness of a plastic sheet, or the width of a metal bracket.

Digital Calipers
These electronic tools feature a digital display for instant, error-free readings (up to 0.01mm).
- Usage: Press the “zero” button to reset, then clamp the object between the jaws. The measurement appears on the screen, with options to switch between metric and imperial units.
- Applications: 3D printing (measuring plastic prototypes), jewelry making (sizing small components), or automotive repair (checking brake pad thickness).
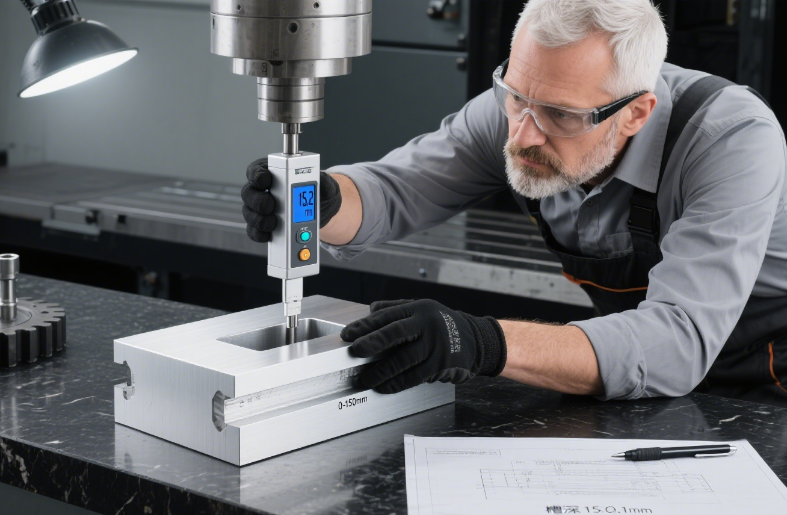
5. Depth Gauges: Measuring Depths with Accuracy
Depth gauges are specialized for measuring the depth of holes, slots, or recesses.
- Usage: Place the base of the gauge flat against the surface around the feature. Lower the measuring rod into the hole or slot until it touches the bottom, then read the measurement from the scale (manual) or display (digital).
- Applications: Machining (checking the depth of a threaded hole), woodworking (measuring the depth of a mortise), or metal fabrication (ensuring a slot meets design specifications).
6. Thickness Gauges: Checking Material Thickness
Thickness gauges (or thickness meters) quickly measure the thickness of flat or curved materials.
- Usage: For manual versions, place the material between the two measuring surfaces and read the scale. Digital models use sensors to display the thickness instantly.
- Applications: Manufacturing (checking sheet metal thickness), packaging (verifying cardboard thickness), or construction (measuring glass pane thickness).

Choosing the Right Tool for the Job
Each measuring tool has its strengths:
- Use micrometers for ultra-precise small dimensions.
- Reach for dial indicators when checking alignment or runout.
- Grab a tape measure for quick, general length measurements.
- Opt for calipers for versatile internal/external/depth checks.
- Select depth gauges for measuring holes and slots.
- Use thickness gauges for material thickness verification.
By matching the tool to the task, you ensure accuracy, efficiency, and professional results in every project.